Python制作动态图-matplotlib.animation
学习动机
-
任务描述
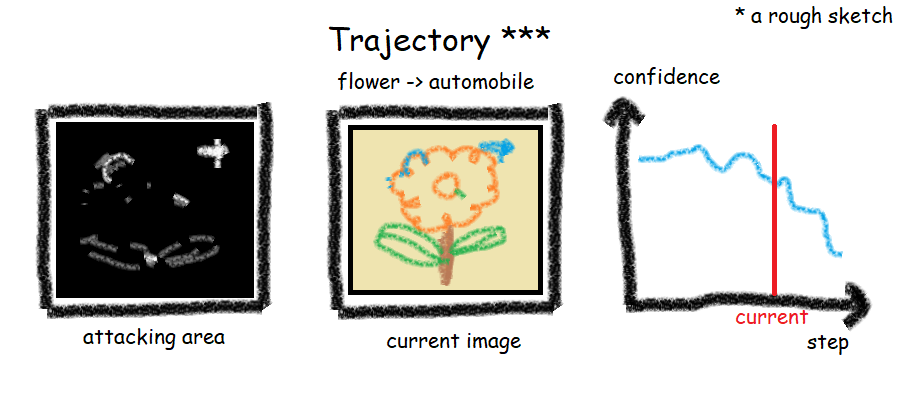
在进行图片分类神经网络的欺骗相关的实验的时候,我们需要动态展示我们对图片的修改以及分类器confidence的变化,为此,我们需要制作动态图或视频的相关知识。
-
设计草图
将numpy数组转换为matplotlib图像
使用matplotlib.pyplot.imshow来完成这一点,接下来给出一个简单的例子(提示没有某些库的话pip安装即可)
import matplotlib.pyplot as plt
import numpy as np

data = np.random.rand(50, 50, 3)
data_r = np.zeros_like(data) # single color
data_r[:, :, 0] = data[:, :, 0]
data_g = np.zeros_like(data)
data_g[:, :, 1] = data[:, :, 1]
data_b = np.zeros_like(data)
data_b[:, :, 2] = data[:, :, 2]
# let's test some operations, like blurring
data_blur = np.zeros_like(data)
blur_range = 3
data_blur[blur_range:-blur_range, blur_range:-blur_range] = sum([data[i:i-blur_range*2, j:j-blur_range*2] for i in range(blur_range*2) for j in range(blur_range*2)]) / (blur_range ** 2) / 4

# now constuct the AxesSubplot objects (in a line)
fig, axs = plt.subplots(1, 5)

# here we use the important 'imshow' function
axs[0].imshow(data)
axs[1].imshow(data_r)
axs[2].imshow(data_g)
axs[3].imshow(data_b)
axs[4].imshow(data_blur)
# try making axis invisable, since we don't need it
axs[4].axis('off')

plt.show()
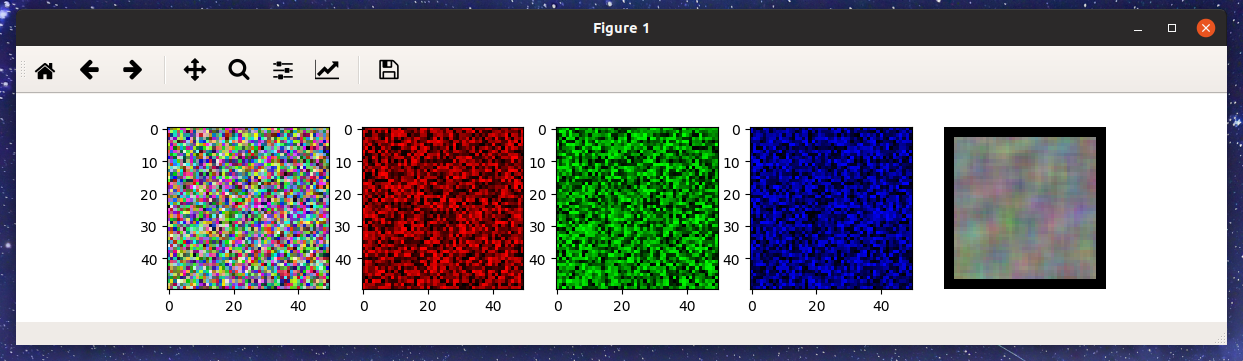
看起来还不错,第五张的坐标轴确实没了。结果如下
动画模块的基本用法
我们使用matplotlib.animation.FuncAnimation来完成生成动画和保存(保存格式为html5),其形如
matplotlib.animation.FuncAnimation(fig, func, frames=None, init_func=None, fargs=None, save_count=None, **kwargs)
下面介绍一些主要参数的设置,顺便提一下它生成动画的原理
-
fig是要绘制的图片(plt.subplots(xxx)或者plt.figure()返给的) func是每帧都会调用的一个函数,其输入是接下来提到的framesframes是一个可迭代对象,每过一个interval的时间长度,库会自动调用func并将下一个frame传给他interval毫秒计量的帧间隔(输出帧率默认与这个匹配)init_func语义上要求提供一个清空帧的方法,如不指定则传入第一个frame进行更新repeat控制动画是否重复的布尔值,默认为真;可通过repeat_delay添加重播前的延迟save_count缓存帧数,修改这个对解决卡顿有好处
我们再来看一个例子,在这个例子中,我们代码实现的逻辑是把随机生成的左图中的红色像素移动到右图对应位置。
需要注意的是,为了保存动画文件我们需要ffmpeg,如不需要可屏蔽相关代码;另外,运行可能需要一段时间。
代码如下
import matplotlib.pyplot as plt
import numpy as np
from matplotlib.animation import FuncAnimation, writers

data_left = np.random.rand(50, 50, 3)
data_red = np.zeros_like(data_left)
data_red[:, :, 0] = data_left[:, :, 0]

# now constuct the AxesSubplot objects (in a line)
fig, axs = plt.subplots(1, 2)

frame_num = 24

lefts = []
rights = []

for n in range(frame_num):
    lefts.append(data_left - 1.0 * data_red * n / frame_num)
    rights.append(data_red * n / frame_num)

# clear the scene
def init():
    axs[0].imshow(data_left)
    axs[0].axis('off')
    axs[1].imshow(np.zeros_like(data_left))
    axs[1].axis('off')

# read the pre-constructed numpy data
def update(n):
    fig.suptitle(str(n))
    axs[0].clear()
    axs[0].imshow(lefts[n])
    axs[0].axis('off')
    axs[1].clear()
    axs[1].imshow(rights[n])
    axs[1].axis('off')

ani = FuncAnimation(fig, update, frames=range(frame_num), interval=1000.0/12, save_count=100)

# save it into html5 format (need ffmpeg)
print('Begin saving html5')
with open('test.html', 'w') as f:
    # f.write('<!DOCTYPE html> <html> <head> <meta charset="UTF-8"> <title>Test</title> </head> <body> ')
    f.write(ani.to_html5_video())
    # f.write('</body> </html>')
print('Finished.')

# save it into gif (need imagemagick)
print('Begin saving gif')
ani.save('test.gif', writer='imagemagick', fps=30)
print('Finished.')

# save it into mp4 (need ffmpeg)
print('Begin saving mp4')
FFMpegWriter = writers['ffmpeg']
writer = FFMpegWriter(fps=30, metadata=dict(title='Test video', artist='littleRound', comment="hope this work"), bitrate=1800)
ani.save('test.mp4', writer=writer)
print('Finished.')

# live show
plt.show()
结果如下
应用到项目中
有了必要的知识后,我们就可以把这个东西部署到实验的框架下了(关于这个实验有机会单独再写一篇吧,内容大概比较多也比较乱,所以代码也就不给出了);
成品如下(因为使用了尚未训练的Agent所以欺骗效果并不理想):
可以看到动画确实会比静态图直观不少,而且html5的格式可以方便我们前后跳转动画进度。
这次技术学习也告一段落啦,如有任何问题或建议欢迎评论留言或邮件交流。